Replacing a windshield can be a daunting task for a novice, but with the right tools and guidance, it can be done at home. In this FAQ blog, we’ll explore the steps involved in replacing a windshield yourself and whether it’s the right choice for you.

Assessing the Damage
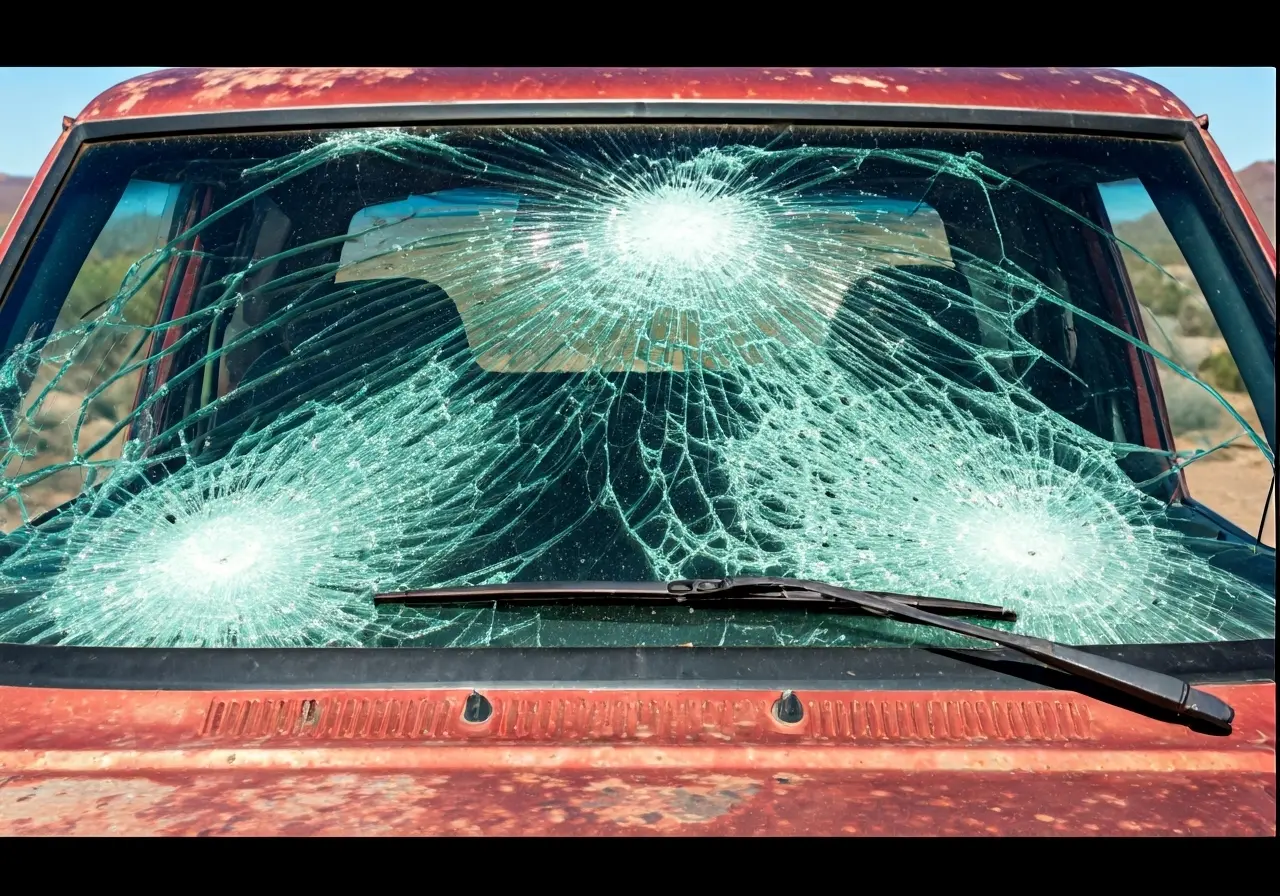
Before you begin, determine the extent of the damage. Small chips and cracks might be repairable, but larger damage often requires a full replacement. It’s essential to assess whether you have the skills needed to address the specific type of damage. An accurate assessment can save you time and money down the road.
Inspecting your windshield closely can help identify issues that might not be visible at first glance. Look for any signs of spider webbing or spreading cracks, which could mean more severe underlying problems and necessitate a full replacement instead of a simple repair.
Don’t forget to consider the positioning of the crack or chip. Damage that impedes the driver’s line of sight should be addressed immediately to ensure safe driving conditions.
Gathering the Necessary Tools
Ensure you have the right tools for the job. This typically includes a new windshield, adhesive, protective gloves, and a sealant applicator. Investing in quality products will make the job smoother and safer. Consulting your vehicle’s manual or hiring professional help can also be beneficial in gathering the correct items.
Having the proper safety gear cannot be overstated. Goggles and gloves are essential to protect yourself from glass and chemical exposure. You’ll also need removal tools like a putty knife or a utility blade to take off the old windshield securely.
Removing the Old Windshield
Carefully remove the seals and molding around the old windshield. Use caution to avoid damaging the vehicle’s body during removal. Removing the windshield often involves carefully cutting the adhesive that holds it in place, which requires precision and patience.
Once the seals and moldings are detached, gently push the windshield away from the frame to avoid any cracks or further damage. If you encounter resistance, it may be a sign to recheck for any remaining adhesive or sealant that needs to be cut away.
Installing the New Windshield
Position the new windshield accurately and apply adhesive as prescribed. Proper installation is crucial to ensure no leaks and safe driving. Be sure to align the windshield precisely within the frame to avoid any issues when sealing.
Once aligned, you will need to apply a continuous bead of adhesive across the entire windshield frame. This step is critical in preventing future leaks and maintaining the structural integrity of your vehicle.
Checking for Leaks
Once installed, check for any air or water leaks. It’s important to ensure a tight seal for the longevity and safety of the windshield. A simple test involves spraying water over the seam and inspecting for any infiltration inside.
Address any leaks immediately. If left unattended, moisture can collect and cause further issues such as fogging and accelerated deterioration of the sealant. Regular checks are recommended to keep your windshield in top condition.
Making the Decision to DIY or Call a Professional
While replacing your windshield at home is possible, it’s essential to evaluate your skill level and the tools you have. Consider the safety implications and potential costs. If in doubt, consulting a professional might be the best course of action to ensure a secure and proper fit. Visit our homepage to learn more about our professional services.