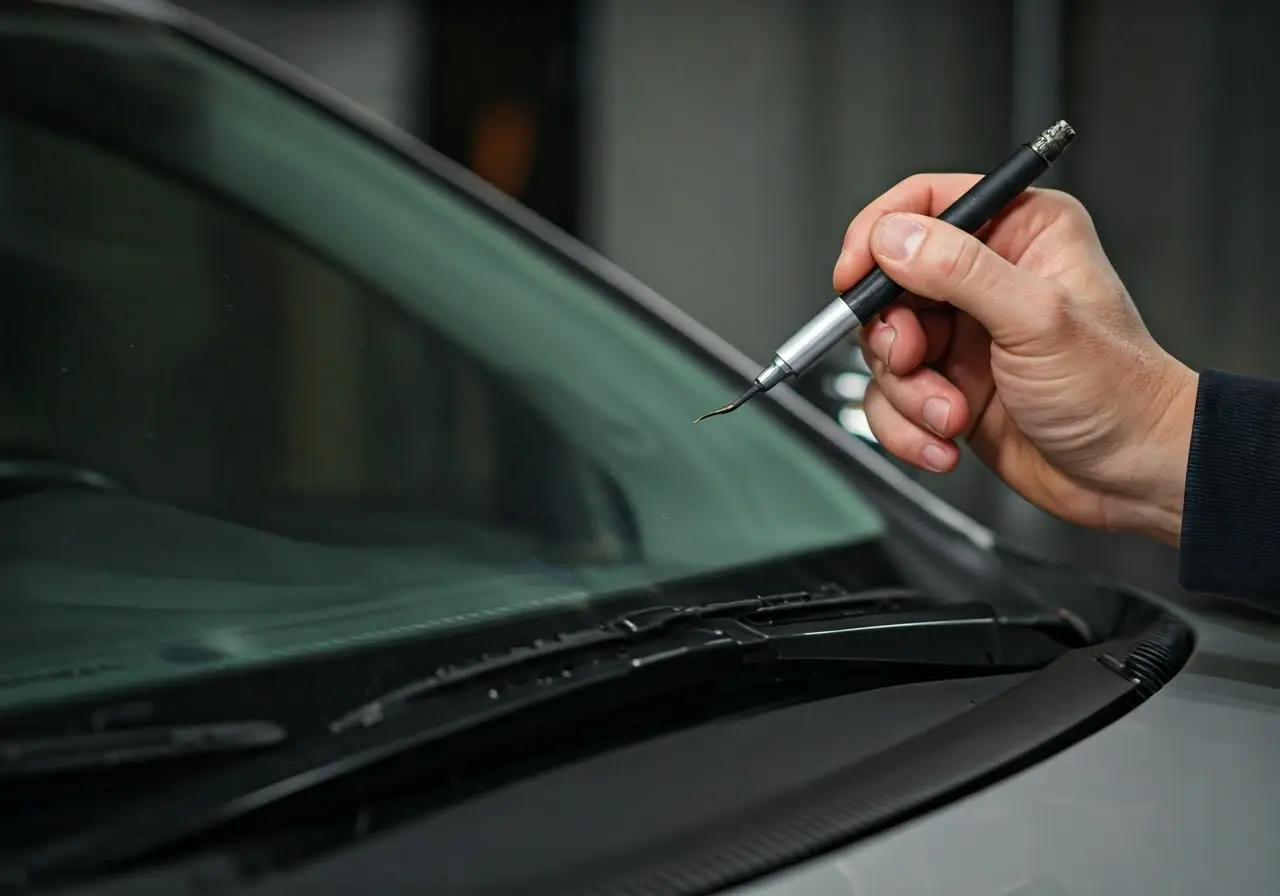
Ensuring your windshield is perfectly calibrated is crucial for your safety and driving experience. In this blog, we’ll break down the steps to achieve flawless windshield calibration, making it easy to understand and apply.
1. Understanding the Importance of Windshield Calibration
Before diving into the steps, it’s essential to understand why windshield calibration matters. Proper calibration ensures the accuracy of advanced driver assistance systems and enhances overall vehicular safety. As cars become more advanced, systems like lane-keeping assist, adaptive cruise control, and collision avoidance rely heavily on precise sensor data. Any misalignment can render these systems ineffective or even dangerous, emphasizing the need for meticulous recalibration Expert Auto Glass Replacement.
Windshield calibration also plays a significant role in maintaining your vehicle’s structural integrity. In the event of a collision, a properly calibrated windshield can help manage impact forces and protect occupants. Moreover, recalibrating your Advanced Driver Assistance Systems (ADAS) after a windshield replacement keeps these systems viable. According to Forbes, ignoring recalibration could lead to legal complications and safety risks in case of an accident.
2. Preparing Your Equipment
Before beginning the calibration process, gather all necessary tools and equipment. Having everything ready will streamline the process and ensure precision. Your calibration kit should include digital levels, specialized cameras, and manufacturer-provided software. Each component plays its part in achieving the precise adjustment required windshield Calibration.
Additionally, make sure that all equipment is in good working condition. Faulty equipment can result in erroneous readings that compromise the calibration process. Always verify that the calibration software is up-to-date with the latest manufacturer specifications. Remember, preparation is as important as the calibration itself—don’t jump into the process without this critical first step.
3. Selecting the Right Environment
Calibration requires a controlled environment. Choose a suitable location with enough space and proper lighting to avoid any inaccuracies during the process. Ensure the area is free from obstructions that could affect sensor readings. Some professionals recommend conducting windscreen adjustments in enclosed areas to eliminate the effects of exterior variables like light reflection and wind ADAS Recalibration: Significance and the Step-by-Step Process.
Furthermore, it is crucial to maintain a clean working space. Debris or dust can interfere with sensor accuracy, leading to misalignment. As a pro tip, make sure the car is on a level, stable surface to further increase calibration accuracy. These aspects might seem trivial, but overlooking them can seriously affect calibration success.
4. Performing a Thorough Vehicle Inspection
Inspect your vehicle to identify any potential issues that might affect the calibration. Look for damage or misalignment that could hinder perfect adjustment. Make sure that the windshield is free of cracks or chips which could impact the calibration’s accuracy. Pay close attention to any warning signals in the dashboard; they could indicate existing issues with the sensors that need to be addressed before proceeding.
A rigorous vehicle inspection not only sets the stage for an effective calibration but also helps in identifying other maintenance issues that could affect vehicle safety. Check tire pressure and ensure that your vehicle is at optimal load conditions, as these factors may affect how the vehicle stands, influencing calibration results.
5. Using the Calibration Equipment Correctly
Understanding how to operate your calibration equipment is crucial. Follow the manufacturer’s instructions carefully to achieve the best results. ADAS systems rely heavily on accurate input from the camera and sensors, meaning that even small deviations can lead to significant operational errors.
Most calibration devices come with software tailored to specific vehicle makes and models. Familiarize yourself with these to get comfortable with their operation. Complex calibration procedures might require the assistance of seasoned professionals to ensure everything aligns with manufacturer specifications Can I Drive Without ADAS Recalibration After a Windshield Change?.
6. Detecting and Correcting Misalignments
During calibration, you might encounter misalignments. Learn how to identify and correct these issues to maintain the accuracy of your windshield. Line up the sight of your sensors with known distances for determining whether adjustments are needed. Sensors displaying off trajectories indicate needed recalibrations in that direction.
Use detailed calibration reports to identify persistent issues that might not be immediately apparent. Consult with your equipment’s diagnostic tools, which may provide insight into areas experiencing recurring misalignments. Accurate sensor data is vital, especially for cars with complex ADAS systems integrating additional features like pedestrian detection ADAS Recalibration: Significance and the Step-by-Step Process.
7. Rechecking the Calibration Setup
After making any corrections, recheck your setup to ensure everything is aligned perfectly. This step guarantees that no errors were made during the calibration. It involves retesting every single component of the calibration, a step that assures every sensor and camera is aligned precisely according to manufacturer specifications.
Any deviation, even if minor, must be addressed promptly. Remember, technology and thoroughness go hand-in-hand. Even minor calibration errors can lead to significant disparities in ADAS functionality, resulting in unwanted consequences on the road.
8. Conducting a Final Test
Once all adjustments are made, conduct a final test to confirm the success of the calibration. This final check will ensure your windshield is perfectly calibrated and ready for safe driving. Perform static and dynamic tests, simulating on-road conditions to ensure the systems respond accurately and in real-time.
Verification through simulated driving conditions is vital before considering the process complete. A smooth calibration translates into an enhanced driving experience, providing peace of mind and optimal vehicle performance. Make full use of the re-test features your systems offer to confirm consistency in results, ensuring safety as a priority windshield Calibration.


